3-Day vs 4-Day vs 5-Day Ha Giang Loop
Three, four, and five days all cover the same 350km circuit. What changes is how that distance gets divided across your days, and that division is the entire difference between an exhausting finale and a trip you actually enjoy end to end. Here is the itinerary-by-itinerary breakdown.
Booking choice: Give the karst plateau, Lung Cu and Ma Pi Leng four riding days, with an English-speaking guide. Check dates for the 4-day loop ↗
Your selections need confirmation. Adjust them in the trip comparison below.
In brief: Compare riding days and overnight stops, not titles alone. A five-day Cao Bang extension is a different route from a slow standard loop.
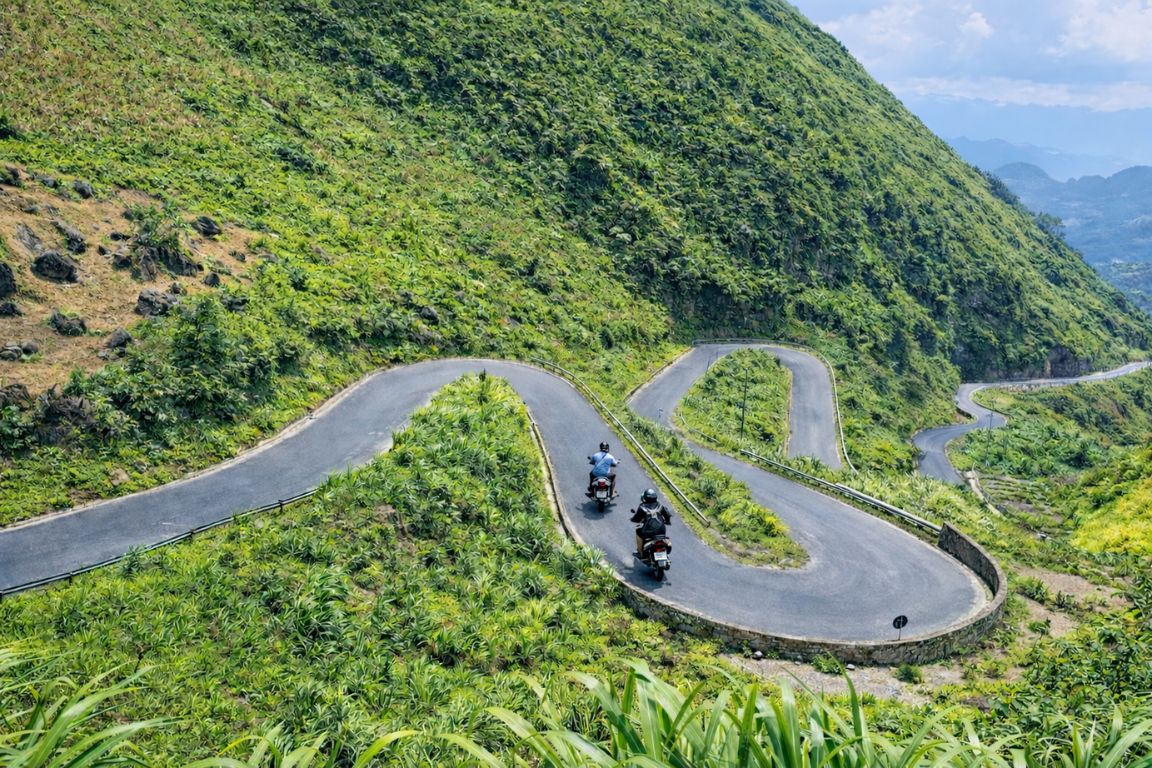
Which Duration Should You Choose?
Four days delivers the best balance of coverage and comfort for most riders, three days works if your schedule is tight and you can handle one demanding final day, and five days suits photographers, older riders, or anyone who wants the loop at a genuinely relaxed pace. All three cover the same 350km loop. The difference is entirely in how that distance gets spread across the days.
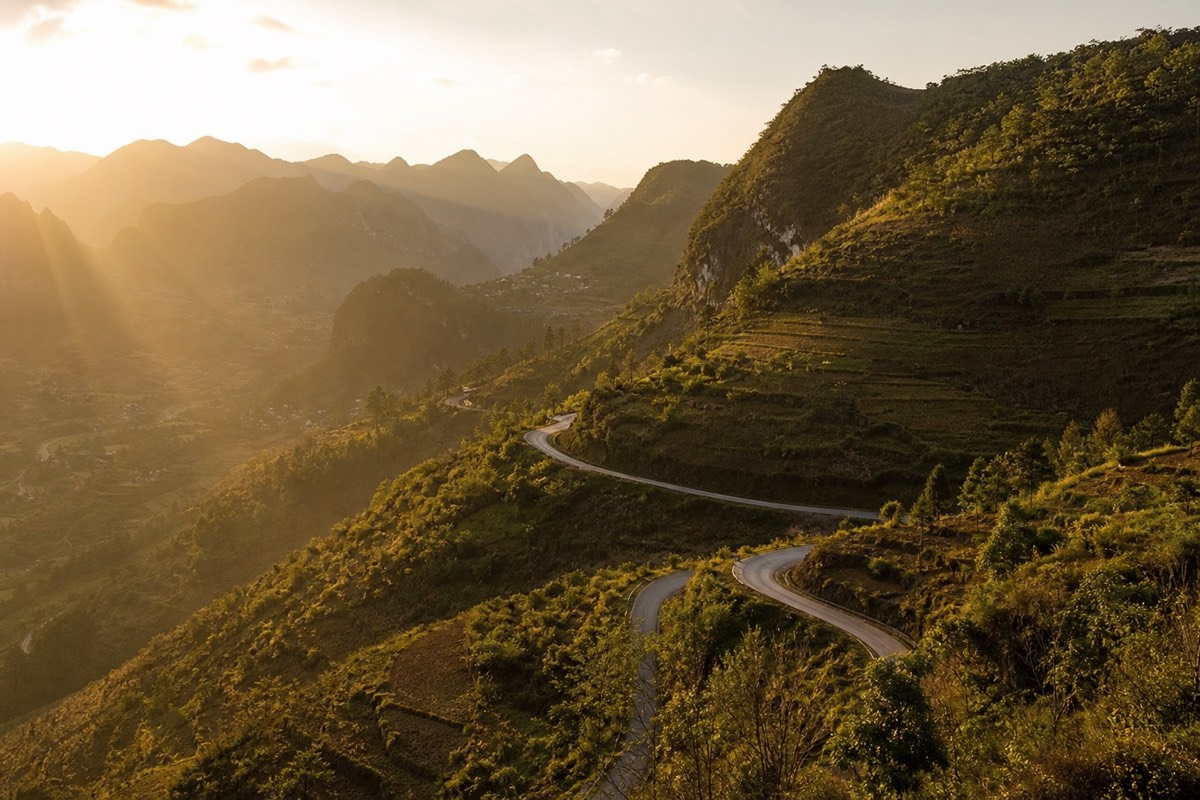
The clearest way to see the tradeoff is the final day. On a 3-day loop, Ma Pi Leng Pass and the entire return leg to Ha Giang get combined into one 160km, six to seven hour day. On a 4-day loop, those split into a dedicated 70km pass day and a separate 120km return day. On a 5-day loop, the whole trip stretches to daily distances as low as 40 to 100km.
If you have not yet decided whether you even need this level of detail, our broader guide to how many days you need covers the 2-day and 5+ day extremes along with weather and fitness factors that shape the decision before you get to comparing exact itineraries.
The 3-Day Standard Loop
Three days covers the loop's essential highlights at a workable pace for the first two days, then compresses Ma Pi Leng Pass and a full 90km return into one exhausting 160km final day that runs six to seven hours of riding. It is the most commonly booked format, chosen mainly for its lower total cost and its fit inside a one-week Vietnam trip.
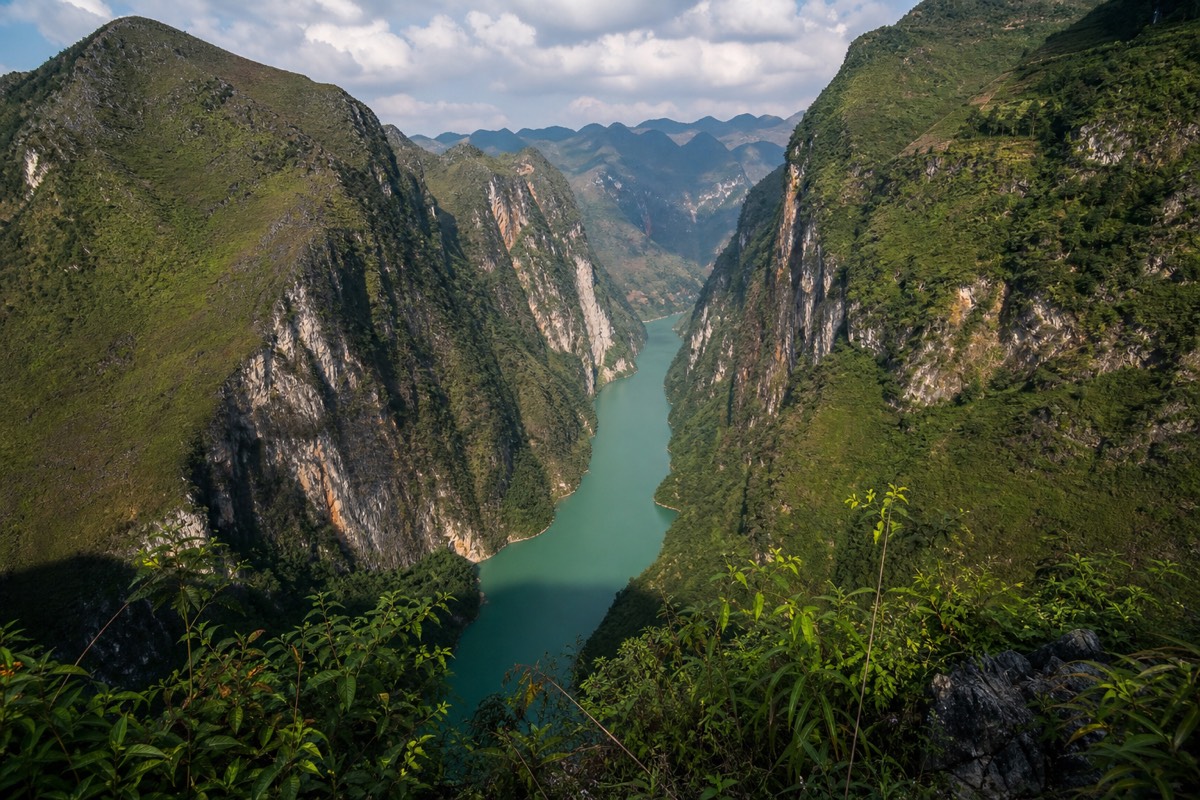
Day 1: Ha Giang to Yen Minh covers a manageable 100km over four to five hours, with a stop at Quan Ba's Heaven's Gate viewpoint along the way. This day sets a comfortable rhythm and rarely causes problems even for less experienced riders.
Day 2: Yen Minh to Dong Van traverses a gentler 90km across karst plateau scenery, with an optional stop at Vuong Palace. It is generally the least physically demanding day of the three.
Day 3: Dong Van to Meo Vac via Ma Pi Leng, then back to Ha Giang is where the schedule tightens hard. The Ma Pi Leng Pass section alone runs 70km and takes three to four hours with photo stops, and riders then continue straight through another 90km return leg without an overnight break in between. Most riders describe this stretch as genuinely exhausting, and it typically forces a rushed 60 to 90 minute stop at the pass instead of the two to three hours the location deserves.
Three days works well for riders with decent fitness and at least some prior mountain experience. It is a weaker fit for photographers wanting unhurried time at viewpoints, or anyone visiting during rainy season, when a single weather delay can throw off an already tight schedule with no slack to absorb it.
The 4-Day Optimal Loop
Four days takes the exact same 350km and splits the 3-day version's brutal final day into two separate, far more manageable days, at the cost of roughly $30 to $50 more. This is the format we recommend as the default for most first-time visitors; the 4 days: small-group Easy Rider loop follows that itinerary.
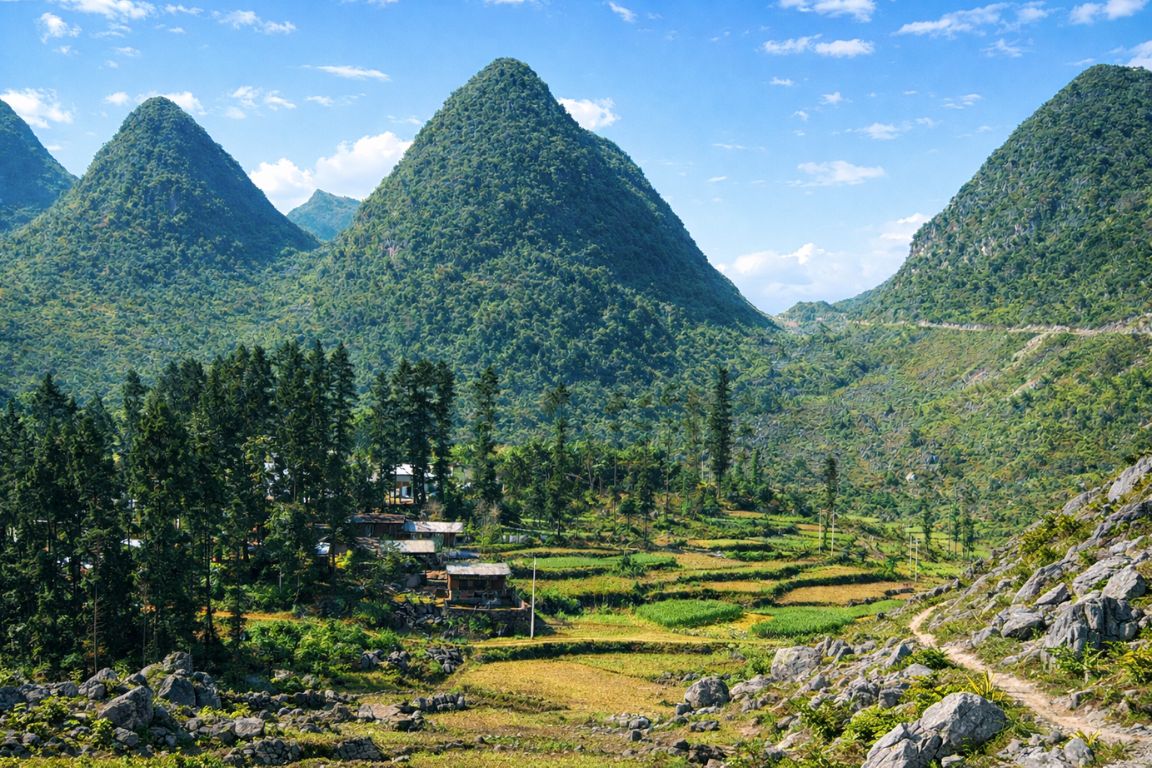
Days 1 and 2 stay identical to the 3-day version: Ha Giang to Yen Minh (100km), then Yen Minh to Dong Van (90km), both at a comfortable four to five hour pace.
Day 3: Dong Van to Meo Vac via Ma Pi Leng Pass shrinks to just 70km and three to four hours, which opens up two to three hours of unhurried time at the pass itself, including the optional Nho Que River boat trip, instead of the rushed hour the 3-day schedule allows. You overnight in Meo Vac rather than pushing straight through.
Day 4: Meo Vac back to Ha Giang covers the remaining 120km at a relaxed five to six hour pace, departing fresh after an overnight rest rather than already fatigued from the pass crossing.
The result is a far more even daily workload, roughly 100, 90, 70, and 120 kilometers, instead of the 3-day version's lopsided 100, 90, 160. Riders on the 4-day format consistently describe Ma Pi Leng Pass as a genuine trip highlight rather than something they had to rush through.
The 5-Day Extended Loop
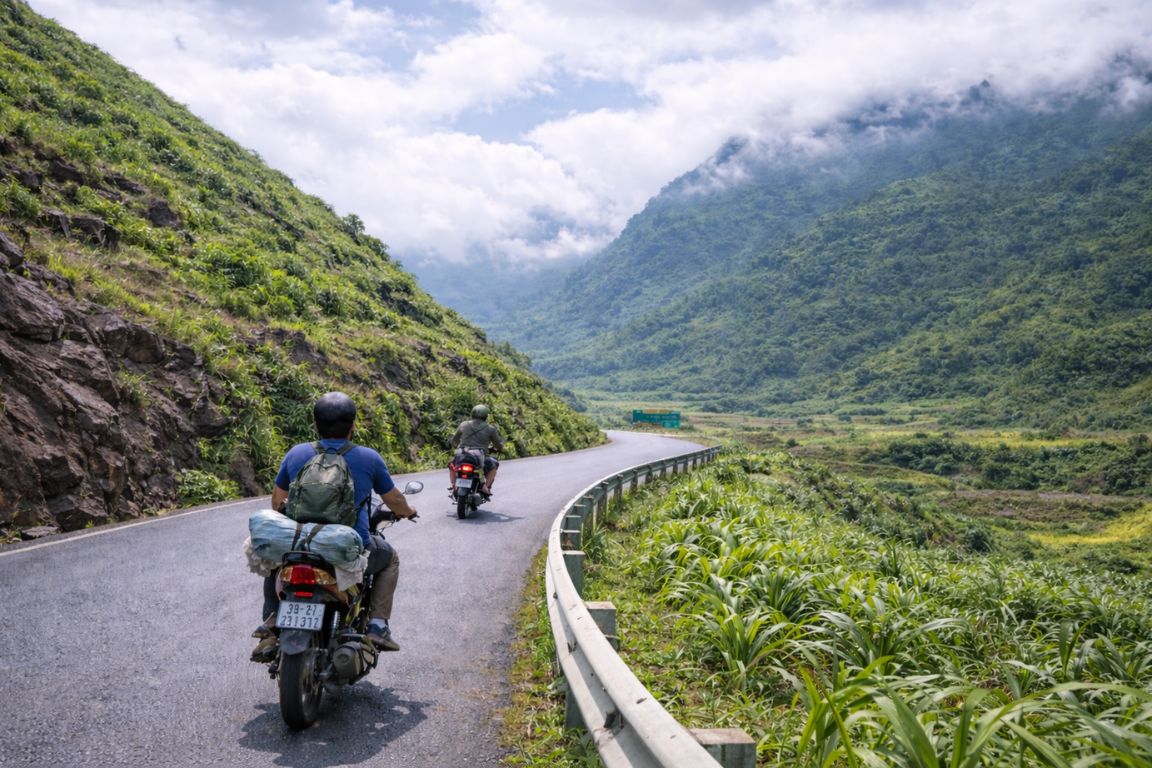
Five days drops daily distances as low as 40 to 100km, turning full riding days into half-day sessions and leaving afternoons free for rest, village exploration, or photography, at the cost of one or two extra days versus the 4-day version. It suits photographers chasing specific light, cultural travelers wanting real time in villages, and older or less-fit riders who benefit from lighter daily demands.
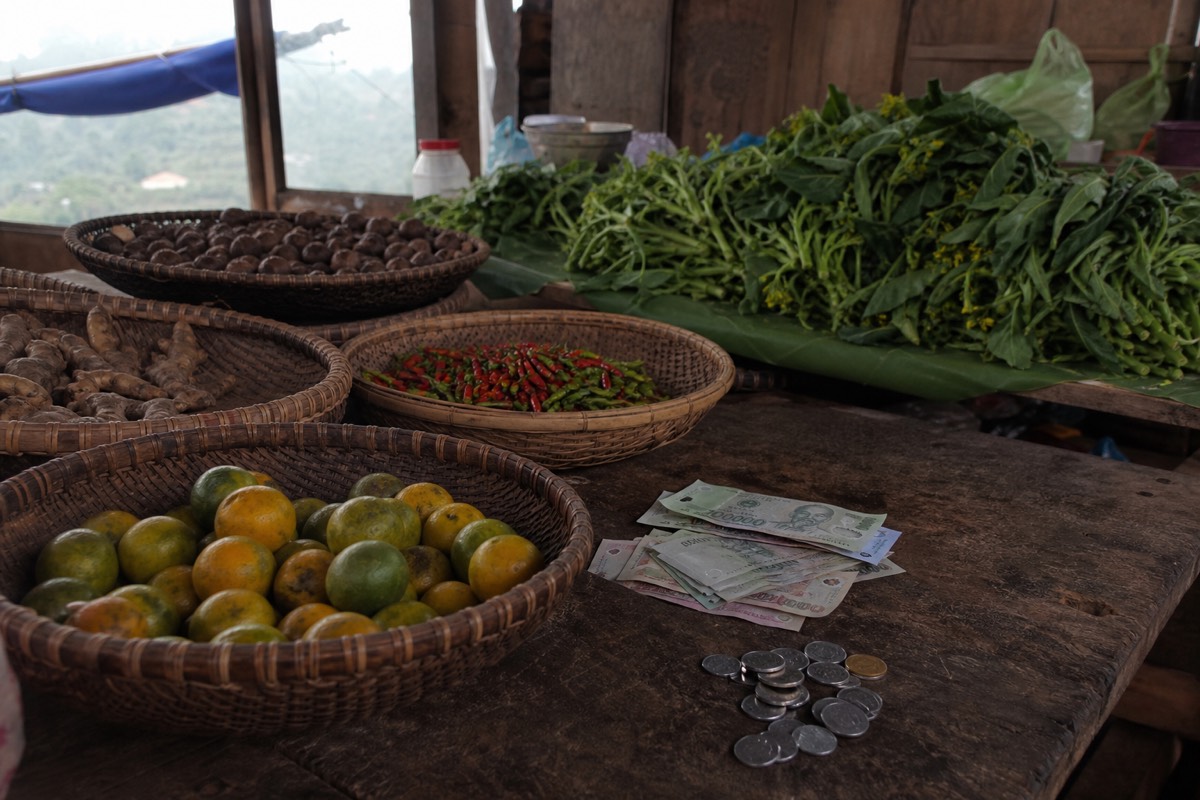
A typical 5-day breakdown runs something like 40km, 60km, 90km, 70km, and 120km across the five days, front-loading the easiest distances and building toward the pass and return at the end. This gives maximum flexibility to add detours like the Lung Cu flag tower without disrupting the core schedule.
For a general tourist without a specific photography or cultural research goal, five days can start to feel slow by Day 4, once the major highlights are already behind you. It is the right call for a specific type of traveler rather than a universal upgrade over four days.
Daily Distance and Riding Time, Side by Side
The 3-day format is the only one of the three with a genuinely lopsided workload, where the final day runs nearly twice the distance of the two days before it, while 4-day and 5-day both spread the effort far more evenly.
| Duration | Day 1 | Day 2 | Day 3 | Day 4 | Day 5 | Longest Day |
|---|---|---|---|---|---|---|
| 3-Day | 100km | 90km | 160km | - | - | 160km (Day 3) |
| 4-Day | 100km | 90km | 70km | 120km | - | 120km (Day 4) |
| 5-Day | 40km | 60km | 90km | 70km | 120km | 120km (Day 5) |
| Duration | Riding Hours (Longest Day) | Ma Pi Leng Time | Weather Buffer | Overall Pace |
|---|---|---|---|---|
| 3-Day | 6-7 hours (Day 3) | 60-90 minutes, rushed | None | Moderate, then brisk on Day 3 |
| 4-Day | 5-6 hours (Day 4) | 2-3 hours, unhurried | One day of slack | Relaxed and comfortable throughout |
| 5-Day | 5-6 hours (Day 5) | 3+ hours, multiple visits possible | Multiple days of slack | Very relaxed |
Every rider we talk to who has done both formats says the same thing about Day 3 of the 3-day version: the scenery is spectacular and the exhaustion is real, and it colors the memory of the pass more than it should.
Cost Comparison Across the Three Durations
Each additional day adds roughly $30 to $50 to a DIY budget and $60 to $100 to a budget tour package, mostly from one extra night of accommodation and a few more meals, which is a modest jump relative to how much it improves the pace.
| Cost Category | 3-Day Budget DIY | 4-Day Budget DIY | 5-Day Budget DIY |
|---|---|---|---|
| Bike rental | $15-30 | $20-40 | $25-50 |
| Accommodation | $15-45 (2 nights) | $20-60 (3 nights) | $25-75 (4 nights) |
| Meals | $30-45 | $40-60 | $50-75 |
| Fuel | $15-20 | $15-25 | $15-25 |
| Permits | $10-20 | $10-20 | $10-20 |
| Total | $90-150 | $120-200 | $150-250 |
Guided packages follow the same pattern at a higher baseline: a 3-day budget tour runs around $120 to $180, a 4-day version runs around $160 to $240, and mid-range tours scale from roughly $240 to $360 for three days up toward $320 to $480 for four. For the full breakdown of guided versus self-ride pricing at every tier, see guided tour vs self-ride.
Per-day cost actually decreases slightly as duration extends, since fixed costs like initial bike setup and permit arrangements spread across more riding days.
Weather and Flexibility: Why the Extra Day Matters More Than the Extra Cost
The 3-day format has zero buffer for weather delays, which means a single morning of fog or an afternoon of heavy rain can force you to either rush dangerously or fall permanently behind schedule, while 4-day and 5-day both absorb that kind of disruption without derailing the trip. This becomes especially relevant during rainy season (June to August) or winter fog (December to February).
A landslide-related delay, occasional but not rare during rainy season, can cost several hours. On a 3-day itinerary with a fixed return flight, that kind of delay has nowhere to go. On a 4-day itinerary, it simply absorbs into the buffer day without threatening the rest of the trip.
If you are traveling during the dry season (October through April), this concern matters less, and a tightly scheduled 3-day trip is far more likely to go exactly as planned.
Pros and Cons of Each Duration
Every duration involves a real tradeoff, and none of the three is a mistake if it matches your actual time, budget, and fitness, which is why "it depends" is the honest answer rather than a dodge.
| Duration | Pros | Cons |
|---|---|---|
| 3-Day | Lowest cost, fits a one-week Vietnam trip, covers all major highlights | Exhausting final day, zero weather buffer, rushed Ma Pi Leng visit |
| 4-Day | Even daily pace, proper time at Ma Pi Leng, one weather buffer day, modest extra cost | Requires one more day off, slightly higher cost than 3-day |
| 5-Day | Most relaxed pace, room for detours, multiple weather buffer days | Highest cost and time commitment, can feel slow without a specific photography or cultural goal |
If you are choosing between riding it yourself and having someone else handle the bike regardless of how many days you pick, our Easy Rider explainer covers that separate decision in full.